Can My Plumber Install Our New Sink?
Believe it or not, the question of whether or not plumbers can install sinks appears in “FAQ” sections all over the place. So, we’re here to put an end to it with a definitive answer; yes, plumbers can install sinks. Plumbers not only install sinks; they do it correctly. It takes a lot of training, on-the-job experience, education and know-how to be able to properly install a sink.
Sinks can be quite intricate. If you are remodeling your kitchen or bathroom and that includes the installation of a new sink, be sure to hire a plumbing expert with all of the requisite contractor’s licenses and credentials. By attempting to install a sink yourself, you may be rendering any sort of manufacturer’s warranty null and void.
Also, bear in mind that if you hire a licensed plumbing professional, he or she will stand behind the work performed and will be there to help you with any necessary subsequent repairs, adjustments or issues. How does the process of new sink installation work?
New Sink Installation
A very basic overview of the process of sink installation is as follows. Remember, this is a layman’s guide and does not detail all of the complexities and steps of sink replacement and installation. This is simply an overview to illustrate how complicated sink replacement, a seemingly basic task, actually is, and why it’s necessary to hire an expert plumber.
Preparation
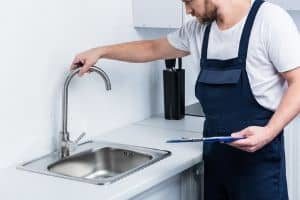 Gathering the requisite materials: These include, of course, the new sink, plumber’s putty, a putty knife, a tape measure, a hacksaw, a small bucket, protective eyewear, a socket wrench, a screwdriver, a hacksaw, gloves, drainpipes, fittings, sealant, rags and so forth.
- Measuring carefully: The plumber will carefully measure the dimensions of your current sink, your available space and so forth. This will help him or her to select the appropriate replacement sink that meets your needs and fits perfectly in your kitchen or bathroom.
- Deciding what exactly to replace: This includes deciding, with the plumber, if you want to replace the faucet, the soap dispenser and so forth, or if there are some elements of your existing sink that you would like to keep.
Removing the Old Sink

- Removing the old sink: Before doing anything, the plumbing expert will use the shutoff valve to turn off the water supply for obvious reasons. The hot and cold water supply valves will subsequently be shut off.
- Disconnecting the water supply valves: This is accomplished with an adjustable wrench or socket wrench, depending on the particular configuration. All of the faucets should be briefly turned on to relieve the pressure from the pipes.
- Disassembling the garbage disposal: This is done by unplugging the disposal and using pliers to disconnect the disposal. The plumbing expert will undoubtedly use a bucket underneath the disposal to collect any excess water.
- Disconnecting the dishwasher line: Often, contractors will snap a picture beforehand to ensure that the new plumbing assembly is done correctly with the proper configuration.
- Loosening the outside of the existing sink: This involves removing metal brackets used to hold the sink in place and cutting away at the sealant or caulk used to stabilize and secure the sink.
- Removing the old sink: The existing sink should now be free from all attachments and can be lifted away from below.
Finally, New Sink Installation
 Cleaning away any remnants: Any caulk or sealant should be scraped away with the putty knife so the plumber has a clean, smooth surface to work with.
- Installing the new sink: The new sink is carefully lifted into place.
- Securing, connecting: The same process is essentially repeated in reverse. The dishwasher and disposal lines are carefully reconnected. The metal brackets are fastened around the sink’s perimeter. Caulking is applied to secure the sink. The water lines are carefully reconnected.
- Reconnecting power: Power to the disposal and dishwasher are reconnected. Then, the water supply is turned back on and tested carefully for leaks.
- Making adjustments: Any necessary adjustments are made, including adding sealant or modifying the length of the pipes. If everything is working properly, the sink installation is complete.
Being Knowledgeable
While it’s still of the utmost importance that you hire a plumbing expert to install a sink, it is also helpful to have a general working knowledge of the process, from preparation through installation. Understanding the basic procedure will help you to understand what your contractor is working on, the steps he or she takes, and why.
So, to reiterate, YES, plumbers certainly can install sinks, and they do it meticulously, carefully and properly. To schedule an appointment today with a plumbing expert from Ira Hansen and Sons Plumbing, give us a call at (775) 626-7777; we take care of everything, even the kitchen sink.


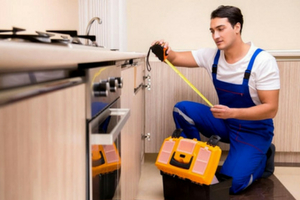 Before starting work on the countertop, you must find the right sink for the project. It has to fit comfortably within the counter space that is available while also being able to serve your family's needs. The cutting process is more trying with a large sink.
 Each measurement you take must be as close to perfect as possible. You only get one attempt at making each cut, and even tiny mistakes can ruin the project forcing you to start over.
 Shaping and cutting granite isn't a job you should do alone. It's a task that requires the help of a professional.
 It's always a dirty job cleaning up after a meal, but a garbage disposal can make it more pleasing. You can dispose of any leftover food before washing by flushing it down instantly.
 Even if you do your best to stop it, food particles will always find a way into your drain.
 The stench of old and rotting food is common in many kitchens. It's caused by food being trapped in drains or left to rest in garbage bins.
 Although we are supremely confident that you can accomplish this DIY task all on your own, there is always support available from your plumber.
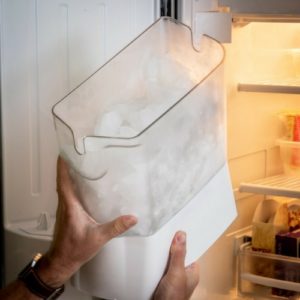 It’s so much easier to fill your glass with ice right from the fridge than to wrestle with ice cubes. Have you ever gone to fill your glass and realized that the last person didn’t refill the tray? That’s something you won’t need to worry about anymore after you connect your ice maker.
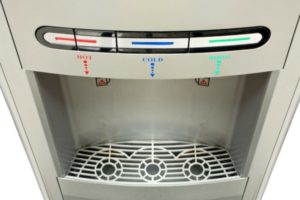 Follow similar steps to connect to the cold water supply. To get rid of the unclean water at the initial hookup, let the water run from the hose into a bucket before you connect it to the water dispenser valve.